Aurifil Test Begins
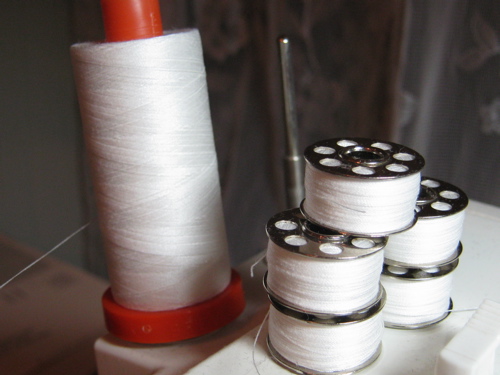
Yesterday I started the comparison test with Aurifil. Just like for Curicini Tre Stelle, I wound 5 bobbins and cleaned and oiled the bobbin case.
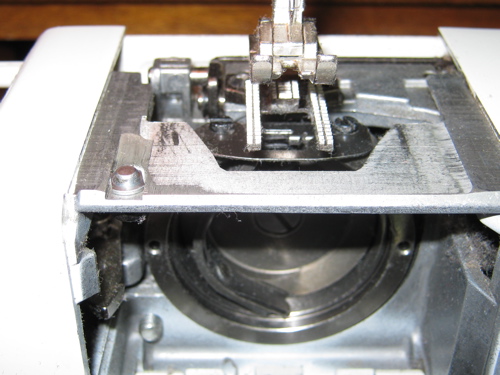
Here is the pics after completing one bobbin full.
The throat plate lint build up looks similar to the results for the Tre Stelle, but the bobbin case looks less linty.
As expected, this thread handles like a dream. Smooth, quiet, and stitches that practically melt into the fabric.
I'm still only on the second bobbin, but completed the blocks for the scrappy pinwheel quilt top. I had to take the blocks out to the carriage house studio to use the floor space as my design area. First I set up the blocks on the tables in stacks of like colors - my design palette!
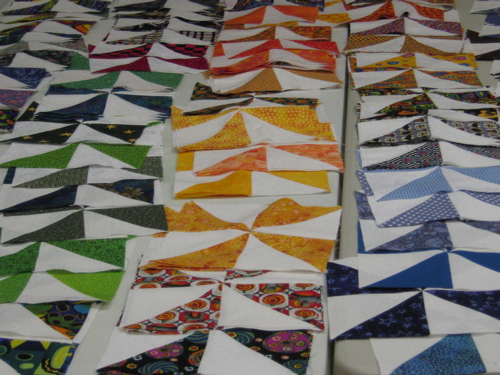
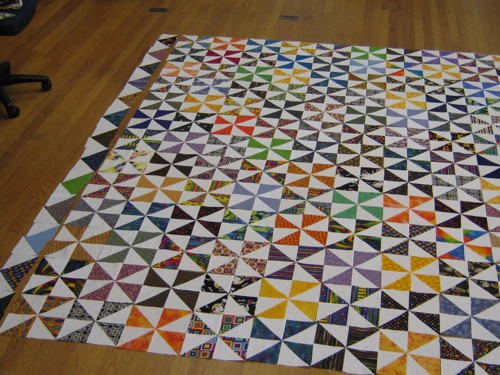
Next I lay out the blocks, being careful to keep a pleasing mix of colors in all the rows.
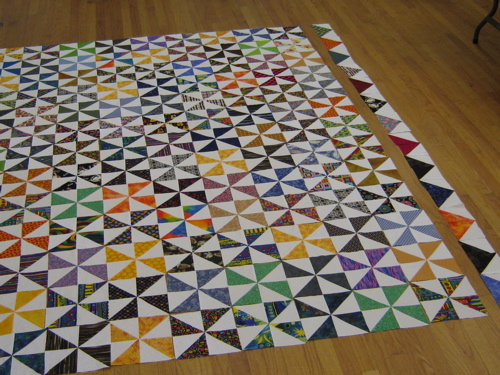
I had to stand on a ladder and hold the camera above my head to try to get as much of this quilt top in my photo frame as possible. And if you think that was a funny sight, imagine me picking up all of these blocks and keeping them in order as I stacked them from left to right!

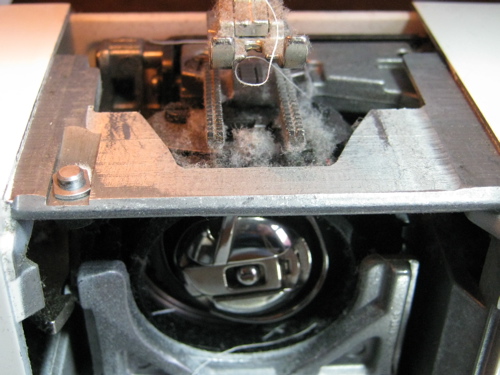
Here is the pics after completing one bobbin full.
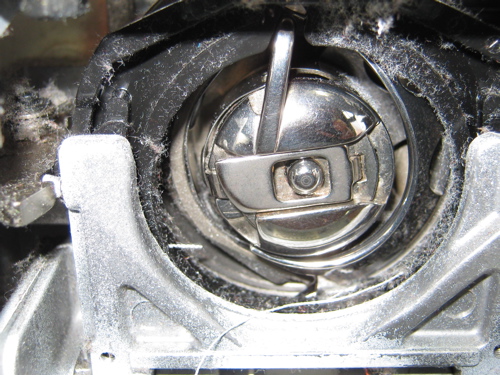
The throat plate lint build up looks similar to the results for the Tre Stelle, but the bobbin case looks less linty.
As expected, this thread handles like a dream. Smooth, quiet, and stitches that practically melt into the fabric.
I'm still only on the second bobbin, but completed the blocks for the scrappy pinwheel quilt top. I had to take the blocks out to the carriage house studio to use the floor space as my design area. First I set up the blocks on the tables in stacks of like colors - my design palette!
Next I lay out the blocks, being careful to keep a pleasing mix of colors in all the rows.
I had to stand on a ladder and hold the camera above my head to try to get as much of this quilt top in my photo frame as possible. And if you think that was a funny sight, imagine me picking up all of these blocks and keeping them in order as I stacked them from left to right!